 1
1
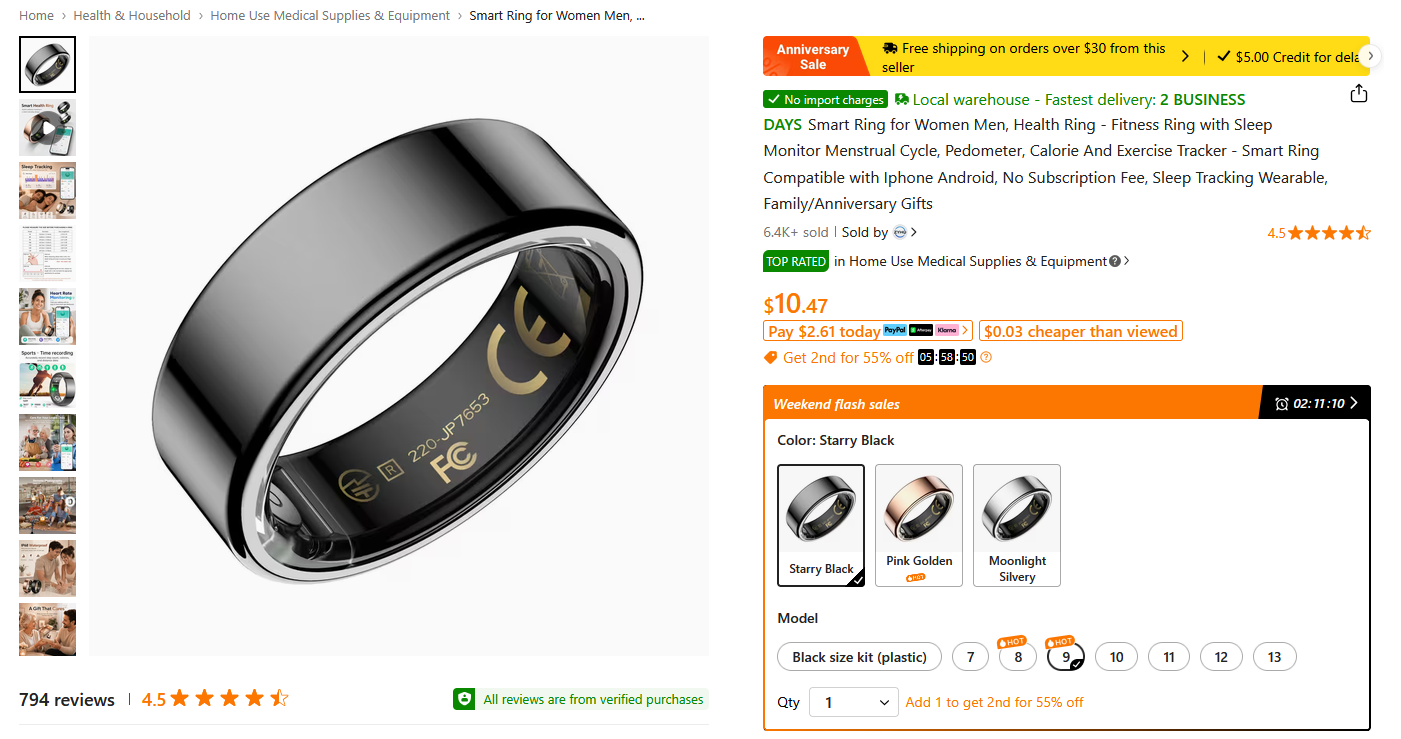
In this post, we’ll build a Python script to scan for nearby ZYHQ/Yucheng smart rings (Temu Link) and parse their BLE advertisements to extract user biometric telemetry — heart rate, SpO₂, blood pressure, steps, temperature, battery, and more.
These rings broadcast a surprisingly rich set of health metrics in manufacturer-specific data without requiring a connection. By combining Wireshark captures, analysis of the official Android APK, and the Bleak library, we can decode everything in real time.
Prerequisites: Basic familiarity with BLE advertising, Python 3, and (optionally) Wireshark / nRF Connect and JADX. You need a Bluetooth adapter that supports active scanning.
Detecting ZYHQ/yucheng Smart Rings
We start by examining the traffic broadcast by the smart ring in Wireshark. Three main BLE events are relevant:
- ADV_IND: The primary broadcast packet sent periodically by the peripheral device
- SCAN_REQ: An active request packet sent by your scanning device (your computer’s Bluetooth adapter or phone) back to the smart ring.
- SCAN_RSP: The reply packet sent by the smart ring immediately after receiving a
SCAN_REQ.
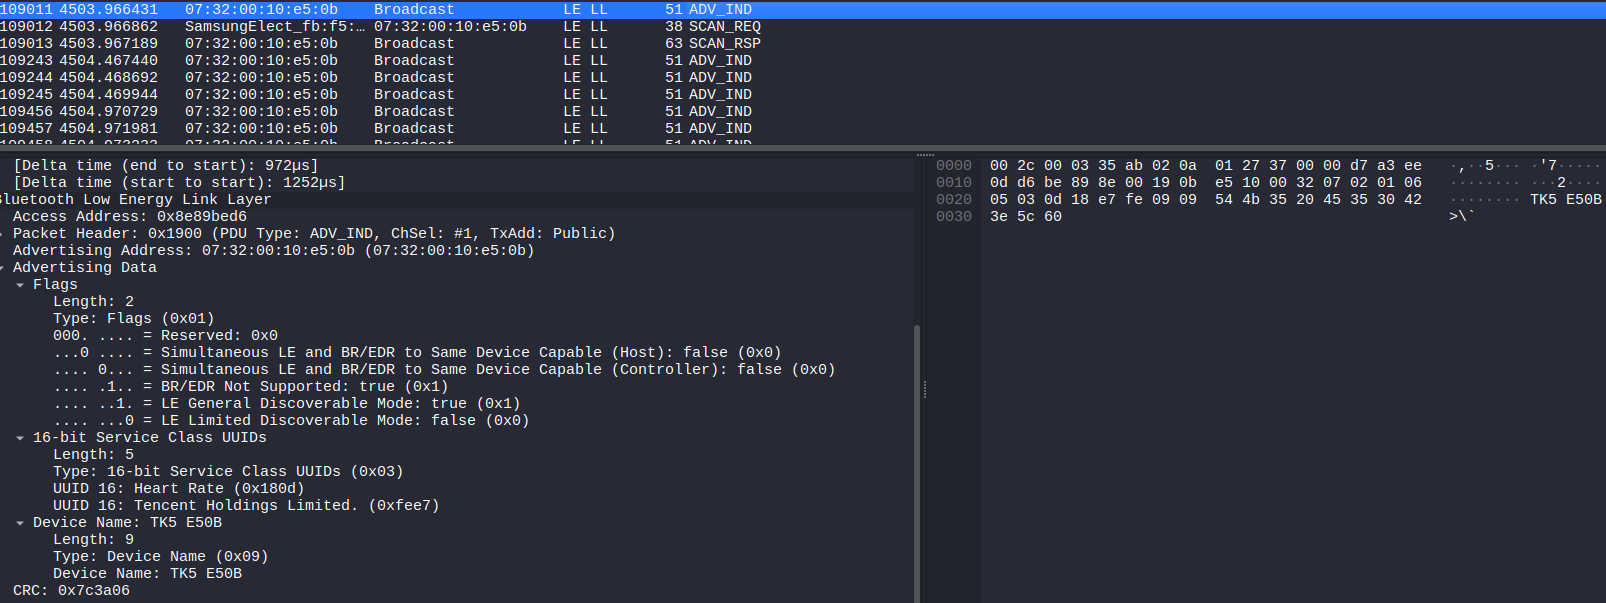
ADV_IND
In the packet details and hex dump we can see the device name (e.g. TK5 E50B). The E50B portion is the last four characters of the device’s MAC address.
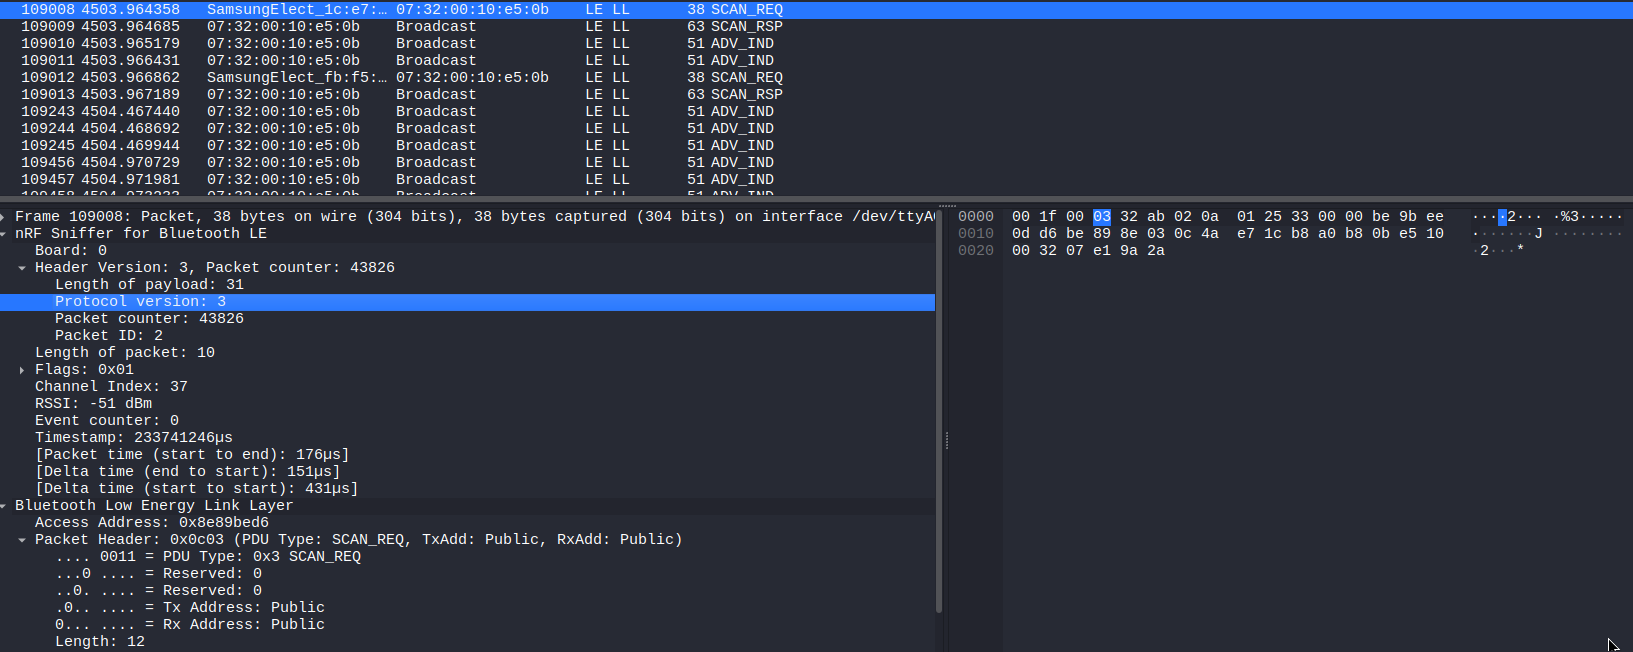
SCAN_REQ
A typical scan request. Little additional information is present without deeper context.
SCAN_RSP
The scan response contains the interesting payload. Wireshark highlights the manufacturer-specific data. One captured response looked like this (hex): 1eff107800000001011200000000000000000000000016000007320010e50b.
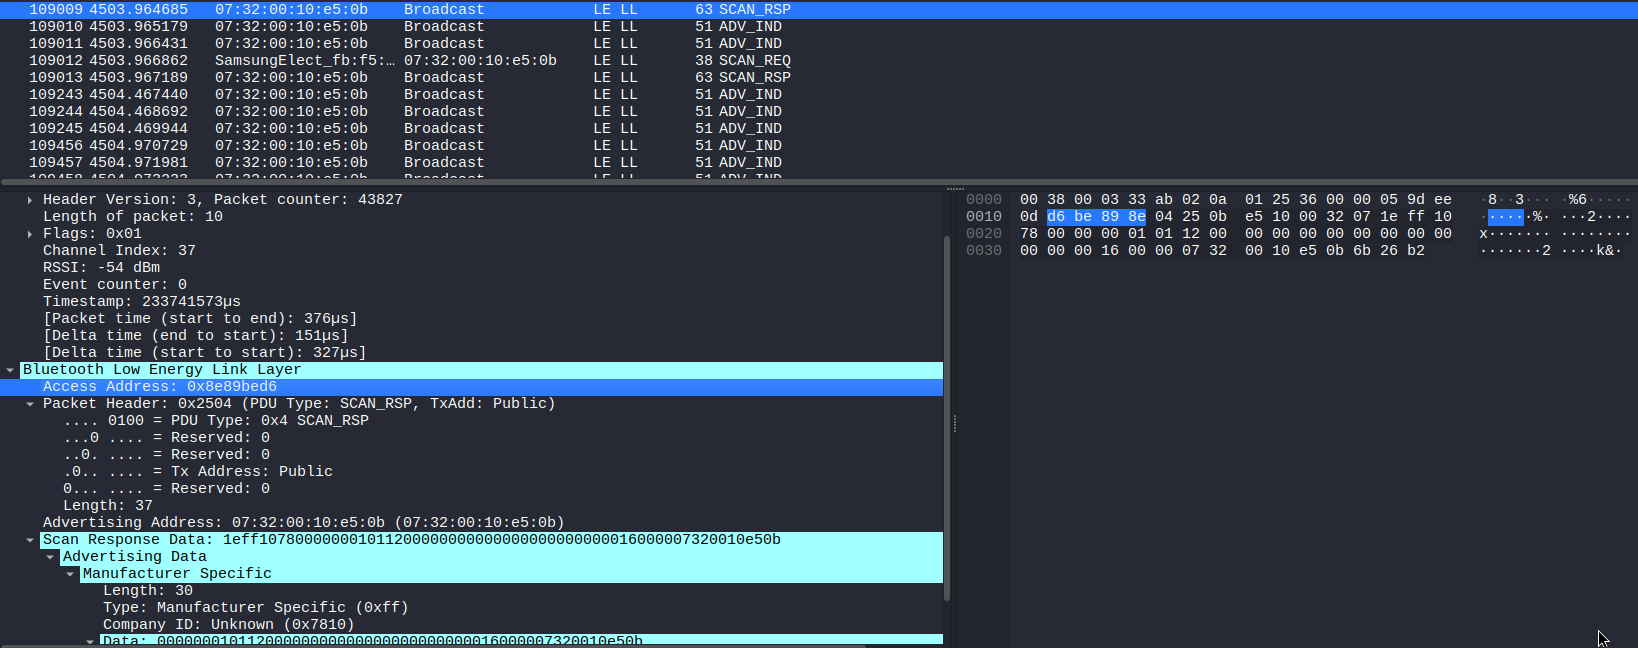
This frame carries the biometric telemetry. Note the company identifier (0x7810, appearing little-endian as 10 78 in the packet). We will use this company ID to filter for our target rings.
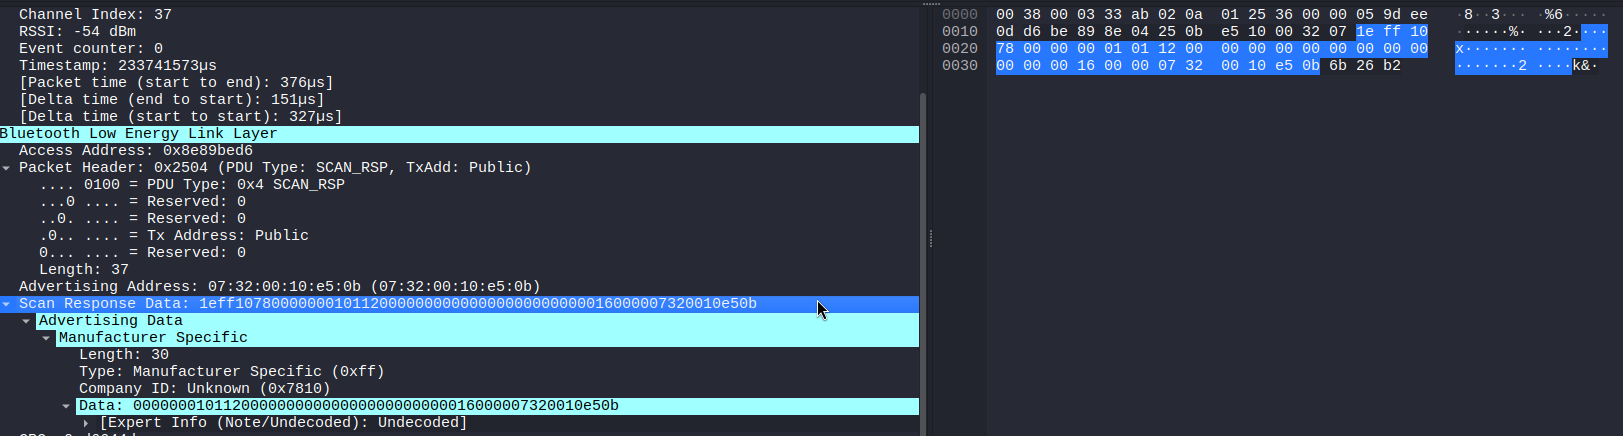
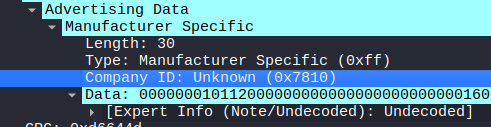
Also note the company ID field and its value, we can use this to identify if a nearby device is our smart ring.
Creating a Python Script to Detect Nearby Rings
With the company ID known, we can write a short script using Bleak that listens for manufacturer data containing 0x7810.
The core detection logic lives in a callback:
def detection_callback(device, adv):
    """Callback triggered on every BLE advertisement seen."""
    global seen, args

    for company_id, payload in (adv.manufacturer_data or {}).items():
        if adv.local_name is None:
            continue
        if company_id != 0x7810:
            # print(f"[-] Ignoring non-Yucheng/ZYHQ frame: 0x{company_id:04X}  len={len(payload)}  name={adv.local_name}")
            continue
        print(f"[new frame] {device.address}  0x{company_id:04X}  "
                f"len={len(payload)}  {payload.hex().upper()}")
The full python script can be found on my github. When we execute our code bleak will scan for nearby broadcasts sending the device information and the frame to our callback.
$ python3 discover_smart_rings.py
[*] Scanning for Yucheng/ZYHQ broadcasts on adapter: default (Ctrl-C to stop)

[new frame] 07:32:00:10:E5:0B  0x7810  len=27  AB020001011200000000724CFF035B632B0042000007320010E50B
In the next section we decode the 27-byte payload into human-readable vitals.
Analyzing the APK
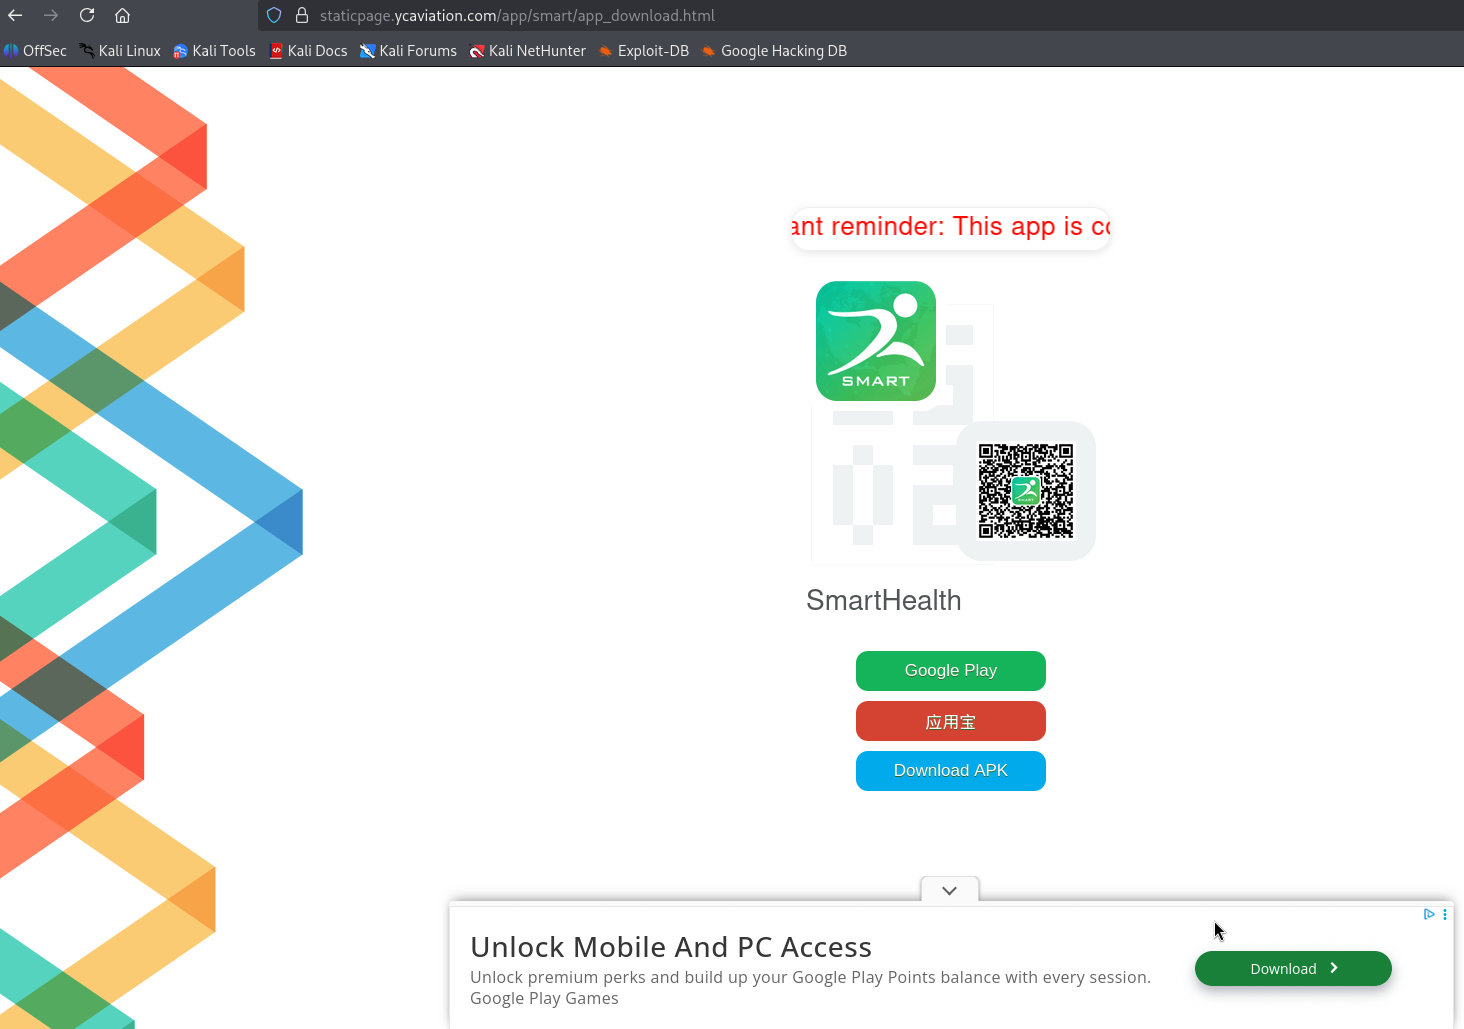
To understand how the hex maps to biometric fields we examine the companion Android application:
https://staticpage.ycaviation.com/app/smart/app_download.html
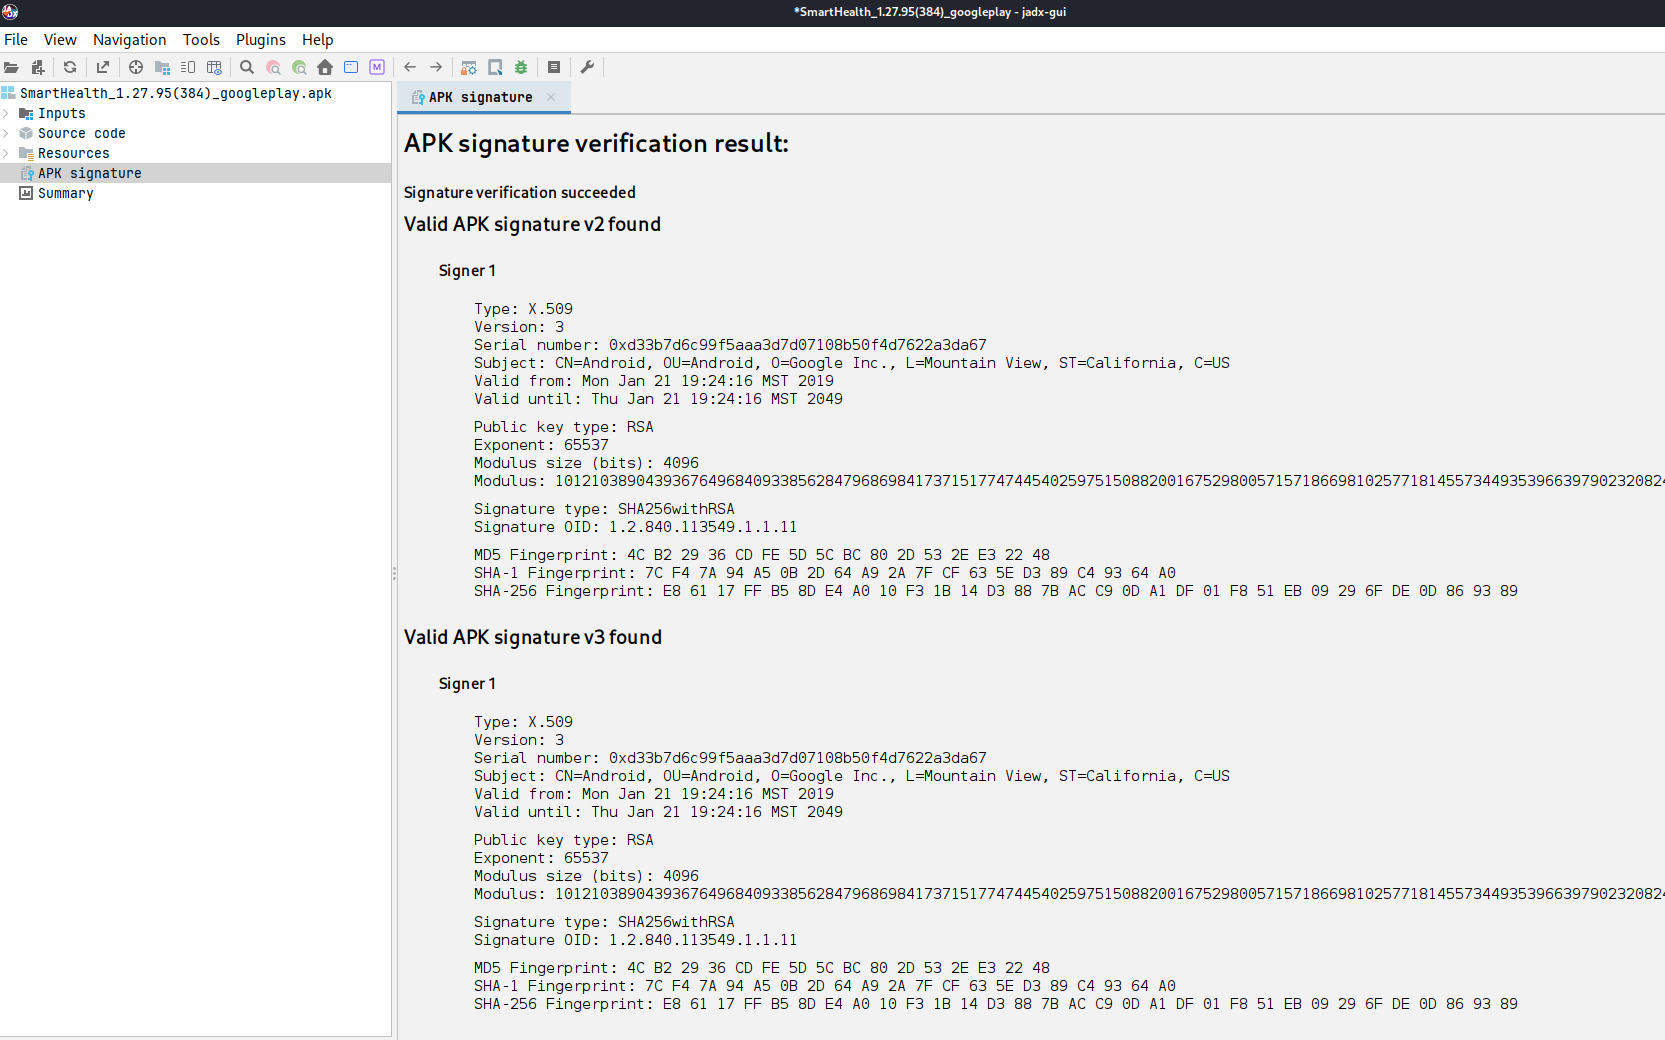
We can start by loading the APK into JADX-GUI, an Android APK source browsing tool:
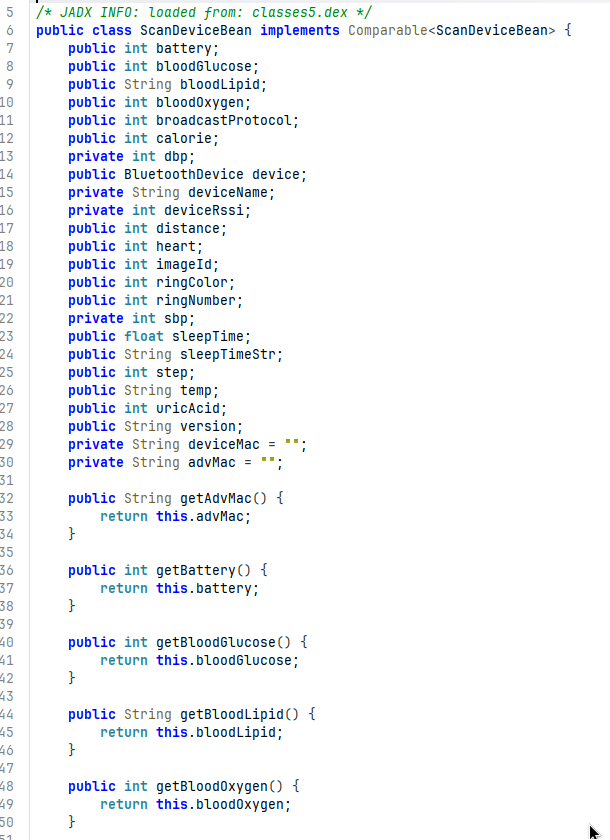
Utilizing the navigation->text search utility and searching for DeviceInfo showcases a class named ScanDeviceBean.

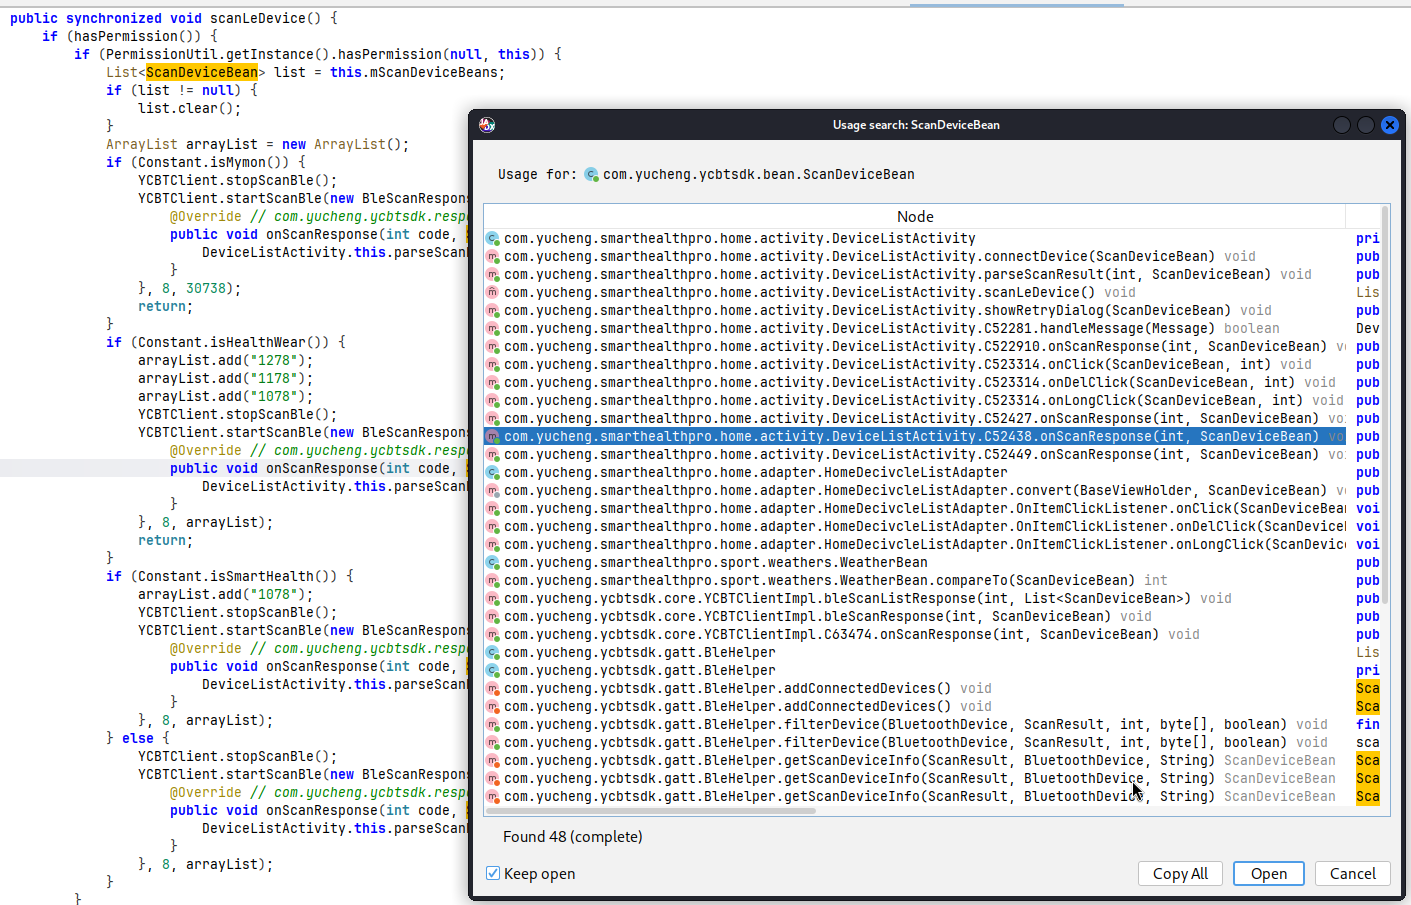
Finding references to the ScanDeviceBean class led me to the parseScanDeviceInfo method. This function is responsible for converting the hex to a ScanDeviceBean Object.
Reading parseScanDeviceInfo
While parseScanDeviceInfo looks complex at first glance, it boils down to basic type conversions. It handles two distinct protocols: one for hardware details and another for specialized health metrics. Essentially, this function acts as a blueprint for translating the ring’s raw hex values into readable data fields.
public static ScanDeviceBean parseScanDeviceInfo(ScanResult scanResult) {
	int i2;
	String str;
	ScanDeviceBean scanDeviceBean = new ScanDeviceBean();
	try {
		if (scanResult.getScanRecord() == null) {
			return scanDeviceBean;
		}
		SparseArray<byte[]> manufacturerSpecificData = scanResult.getScanRecord().getManufacturerSpecificData();
		if (manufacturerSpecificData != null) {
			char c2 = 0;
			int i3 = 0;
			while (i3 < manufacturerSpecificData.size()) {
				byte[] bArr = manufacturerSpecificData.get(manufacturerSpecificData.keyAt(i3));
				if (ByteUtil.byteToString(bArr).length() != 54 || bArr == null || bArr.length < 20) {
					manufacturerSpecificData = manufacturerSpecificData;
				} else {
					ScanDeviceBean scanDeviceBean2 = new ScanDeviceBean();
					try {
						int i4 = (bArr[c2] & 255) + ((bArr[1] & 255) << 8);
						byte b2 = bArr[2];
						String str2 = ((b2 & JSONB.Constants.BC_INT32_NUM_MIN) >> 4) + "." + (b2 & 15);
						int i5 = bArr[3] & 255;
						if (i5 == 1) {
							byte b3 = bArr[4];
							byte b4 = bArr[5];
							byte b5 = bArr[6];
							byte b6 = bArr[7];
							byte b7 = bArr[8];
							String str3 = ((int) b3) + "." + (b4 < 10 ? "0" + ((int) b4) : Integer.valueOf(b4));
							scanDeviceBean2.setBroadcastProtocol(i5);
							scanDeviceBean2.setVersion(str3);
							scanDeviceBean2.setRingNumber(b5);
							scanDeviceBean2.setRingColor(b6);
							scanDeviceBean2.setImageId(b7);
						} else if (i5 == 2) {
							byte b8 = bArr[4];
							byte b9 = bArr[5];
							byte b10 = bArr[6];
							int i6 = (bArr[7] & 255) + ((bArr[8] & 255) << 8);
							String str4 = ((int) b8) + "." + (b9 < 10 ? "0" + ((int) b9) : Integer.valueOf(b9));
							scanDeviceBean2.setBroadcastProtocol(i5);
							scanDeviceBean2.setVersion(str4);
							scanDeviceBean2.setBloodGlucose(b10);
							scanDeviceBean2.setUricAcid(i6);
						}
						byte b11 = bArr[10];
						byte b12 = bArr[11];
						int i7 = (bArr[12] & 255) + ((bArr[13] & 255) << 8);
						byte b13 = bArr[14];
						byte b14 = bArr[15];
						if (i5 == 2) {
							str = (bArr[16] & 255) + "." + (bArr[17] & 255);
							i2 = 0;
						} else {
							i2 = (bArr[16] & 255) + ((bArr[17] & 255) << 8);
							str = "";
						}
						byte b15 = bArr[18];
						int i8 = bArr[19] & 255;
						int i9 = bArr[20] & 255;
						String string = (i9 < 10 ? new StringBuilder().append("0").append(i9) : new StringBuilder().append("").append(i9)).toString();
						if (bArr.length >= 26) {
							scanDeviceBean2.setAdvMac(bytesToMacAddress(ByteUtil.getSubArray(bArr, 21, 6)));
						}
						scanDeviceBean2.setDbp(b11);
						scanDeviceBean2.setSbp(b12);
						scanDeviceBean2.setStep(i7);
						scanDeviceBean2.setHeart(b13);
						scanDeviceBean2.setBloodOxygen(b14);
						scanDeviceBean2.setCalorie(i2);
						scanDeviceBean2.setBloodLipid(str);
						scanDeviceBean2.setBattery(b15);
						scanDeviceBean2.setTemp(i8 + "." + string);
						scanDeviceBean2.setSleepTimeStr(str2);
						scanDeviceBean2.setDistance(i4);
						if (i5 == 1) {
							LoggerFactory.getLogger(LogConstants.MODULE_SCAN).debug("广播数据", How.CALLBACK, "新广播协议  scanDeviceBean=" + new Gson().toJson(scanDeviceBean2));
						}
						scanDeviceBean = scanDeviceBean2;
					} catch (Exception e2) {
						e = e2;
						scanDeviceBean = scanDeviceBean2;
					}
				}
				i3++;
				manufacturerSpecificData = manufacturerSpecificData;
				c2 = 0;
			}
		}
		return scanDeviceBean;
	} catch (Exception e3) {
		e = e3;
	}
	e.printStackTrace();
	return scanDeviceBean;
}
Applying this newfound context to the ring’s advertisement frame (MAC: 07:32:00:10:e5:0b), we can map the raw hex dump directly to the data fields.
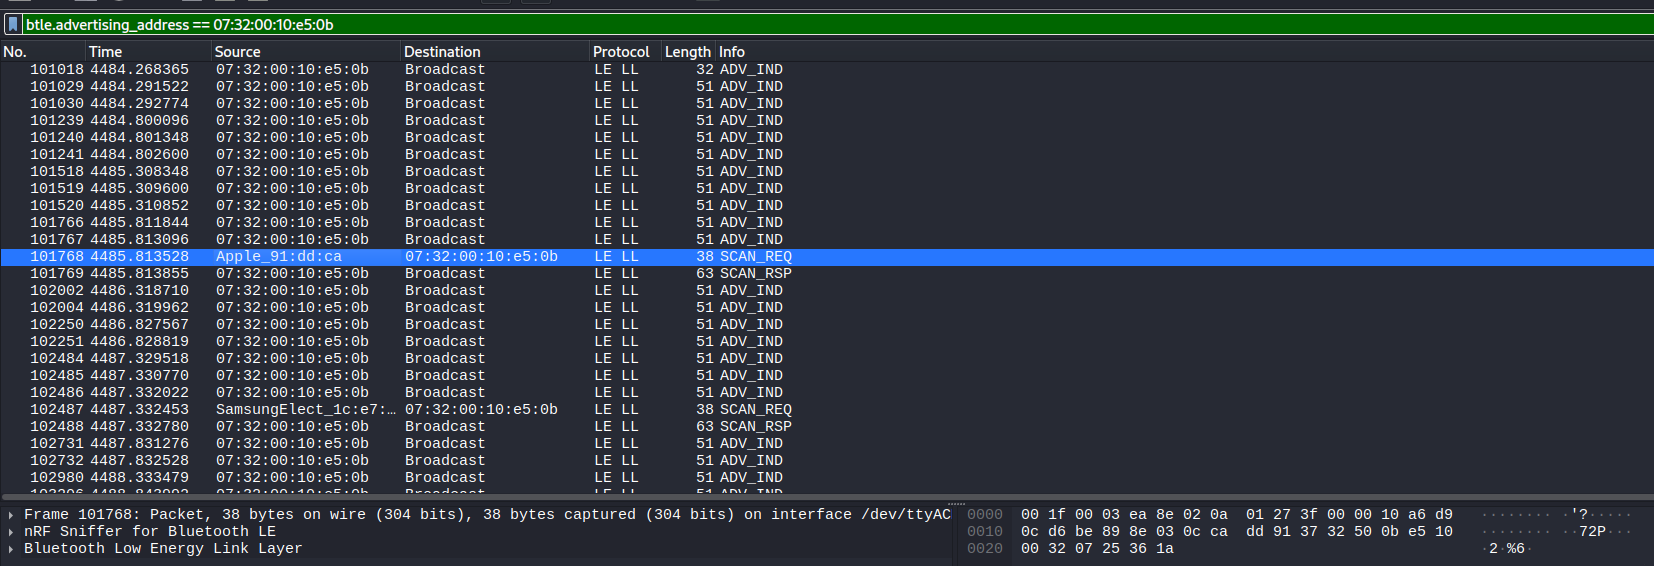
If we look closely at the end of the payload, we can actually see the device’s MAC address transmitted in reverse byte order:
0000   00 1f 00 03 ea 8e 02 0a 01 27 3f 00 00 10 a6 d9
0010   0c d6 be 89 8e 03 0c ca dd 91 37 32 50 0b e5 10
0020   00 32 07 25 36 1a
Highlighting the MAC address sequence:
0000   .. .. .. .. .. .. .. .. .. .. .. .. .. .. .. ..
0010   .. .. .. .. .. .. .. .. .. .. .. .. .. 0b e5 10
0020   00 32 07 .. .. ..
By combining the logic from the Java parser and the hex dump, we can construct a complete map of the 27-byte advertisement frame. Note that the layout shifts slightly depending on whether the payload uses Protocol 1 or Protocol 2.
| Bytes | Protocol | Field | Data Type / Notes |
|---|---|---|---|
| 0–1 | All | Distance | uint16 LE |
| 2 | All | Sleep/Version (Nibble) | (hi).(lo) |
| 3 | All | Broadcast Protocol | 1 or 2 (Determines meaning of bytes 4-8 & 16-17) |
| 4–5 | All | Firmware Version | Major [4], Minor [5] |
| 6 | Proto 1 | Ring Number | uint8 |
| 6 | Proto 2 | Blood Glucose | uint8 |
| 7 | Proto 1 | Ring Color | uint8 |
| 8 | Proto 1 | Image ID | uint8 |
| 7–8 | Proto 2 | Uric Acid | uint16 LE |
| 9 | All | Unused | Ignored by parser |
| 10 | All | Diastolic BP (DBP) | uint8 |
| 11 | All | Systolic BP (SBP) | uint8 |
| 12–13 | All | Steps | uint16 LE |
| 14 | All | Heart Rate | bpm |
| 15 | All | Blood Oxygen (SpO2) | % |
| 16–17 | Proto 1 | Calories | uint16 LE |
| 16–17 | Proto 2 | Blood Lipid | Format: "Byte[16].Byte[17]" |
| 18 | All | Battery | % |
| 19–20 | All | Temperature | Integer part [19], Fractional part (2 digits) [20] |
| 21–26 | All | Device MAC | Present if payload length ≥ 27 |
Creating a Python Decoder
Parsing these fields from the raw data is straightforward in Python. Taking the raw bytes of the ring’s advertisement frame as our payload, we can write a decoder function that perfectly mimics the original APK’s logic:
https://github.com/Drew-Alleman/ZYHQ_Smart_Ring_Sniffer/blob/main/read_vitals.py
def decode(payload: bytes):
    """Decode one manufacturer-specific payload.
    Returns a dict of fields, or None if it doesn't look like a Yucheng frame."""
    b = payload
    if len(b) < 20:
        return None

	# Protocol Version
    proto = b[3]
    if proto not in (1, 2):
        return None  # not a frame shape this SDK understands

    out = {
        "protocol": proto,
        "distance": u16le(b, 0),
        "nibble_2": f"{b[2] >> 4}.{b[2] & 0x0F}",
    }

    if proto == 1:
        out["fw_version"] = f"{b[4]}.{b[5]:02d}"
        out["ring_number"] = b[6]
        out["ring_color"] = b[7]
        out["image_id"] = b[8]
    else:  # proto == 2
        out["fw_version"] = f"{b[4]}.{b[5]:02d}"
        out["blood_glucose"] = b[6]
        out["uric_acid"] = u16le(b, 7)

	# Generic fields shared in all formats
    out["dbp"] = b[10]
    out["sbp"] = b[11]
    out["steps"] = u16le(b, 12)
    out["heart_rate"] = b[14]
    out["spo2"] = b[15]

    if proto == 2:
        out["blood_lipid"] = f"{b[16]}.{b[17]}"
        out["calories"] = 0
    else:
        out["calories"] = u16le(b, 16)
        out["blood_lipid"] = ""

    out["battery"] = b[18]
    if len(b) > 20:
        out["temperature"] = f"{b[19]}.{b[20]:02d}"
    if len(b) >= 26:
        out["adv_mac"] = mac_from(b, 21)

    return out
now to use this frame we can expand on our script that we used for device enumeration, but this time we will attempt to decode the frame if it belongs to our company:
def callback(device, adv):
	for company_id, payload in (adv.manufacturer_data or {}).items():
		if args.raw:
			print(f"[raw] {device.address}  0x{company_id:04X}  "
				  f"len={len(payload)}  {payload.hex().upper()}")
		if not args.all_lengths and len(payload) != FRAME_LEN:
			continue

		users_vitals = decode(payload) ## Call our decode function!

		if users_vitals is None:
			continue

		## Function to print out the users information all pretty
		print(format_reading(device.address, adv.local_name,
							 adv.rssi, company_id, users_vitals))
After executing the code with our new callback, I disconnected the ring from my phone to force an advertisement frame. I noticed that these frames are still broadcast even while the phone is connected, though the captured results appear random.
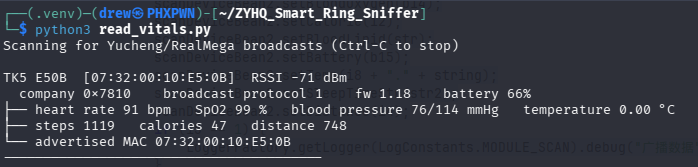
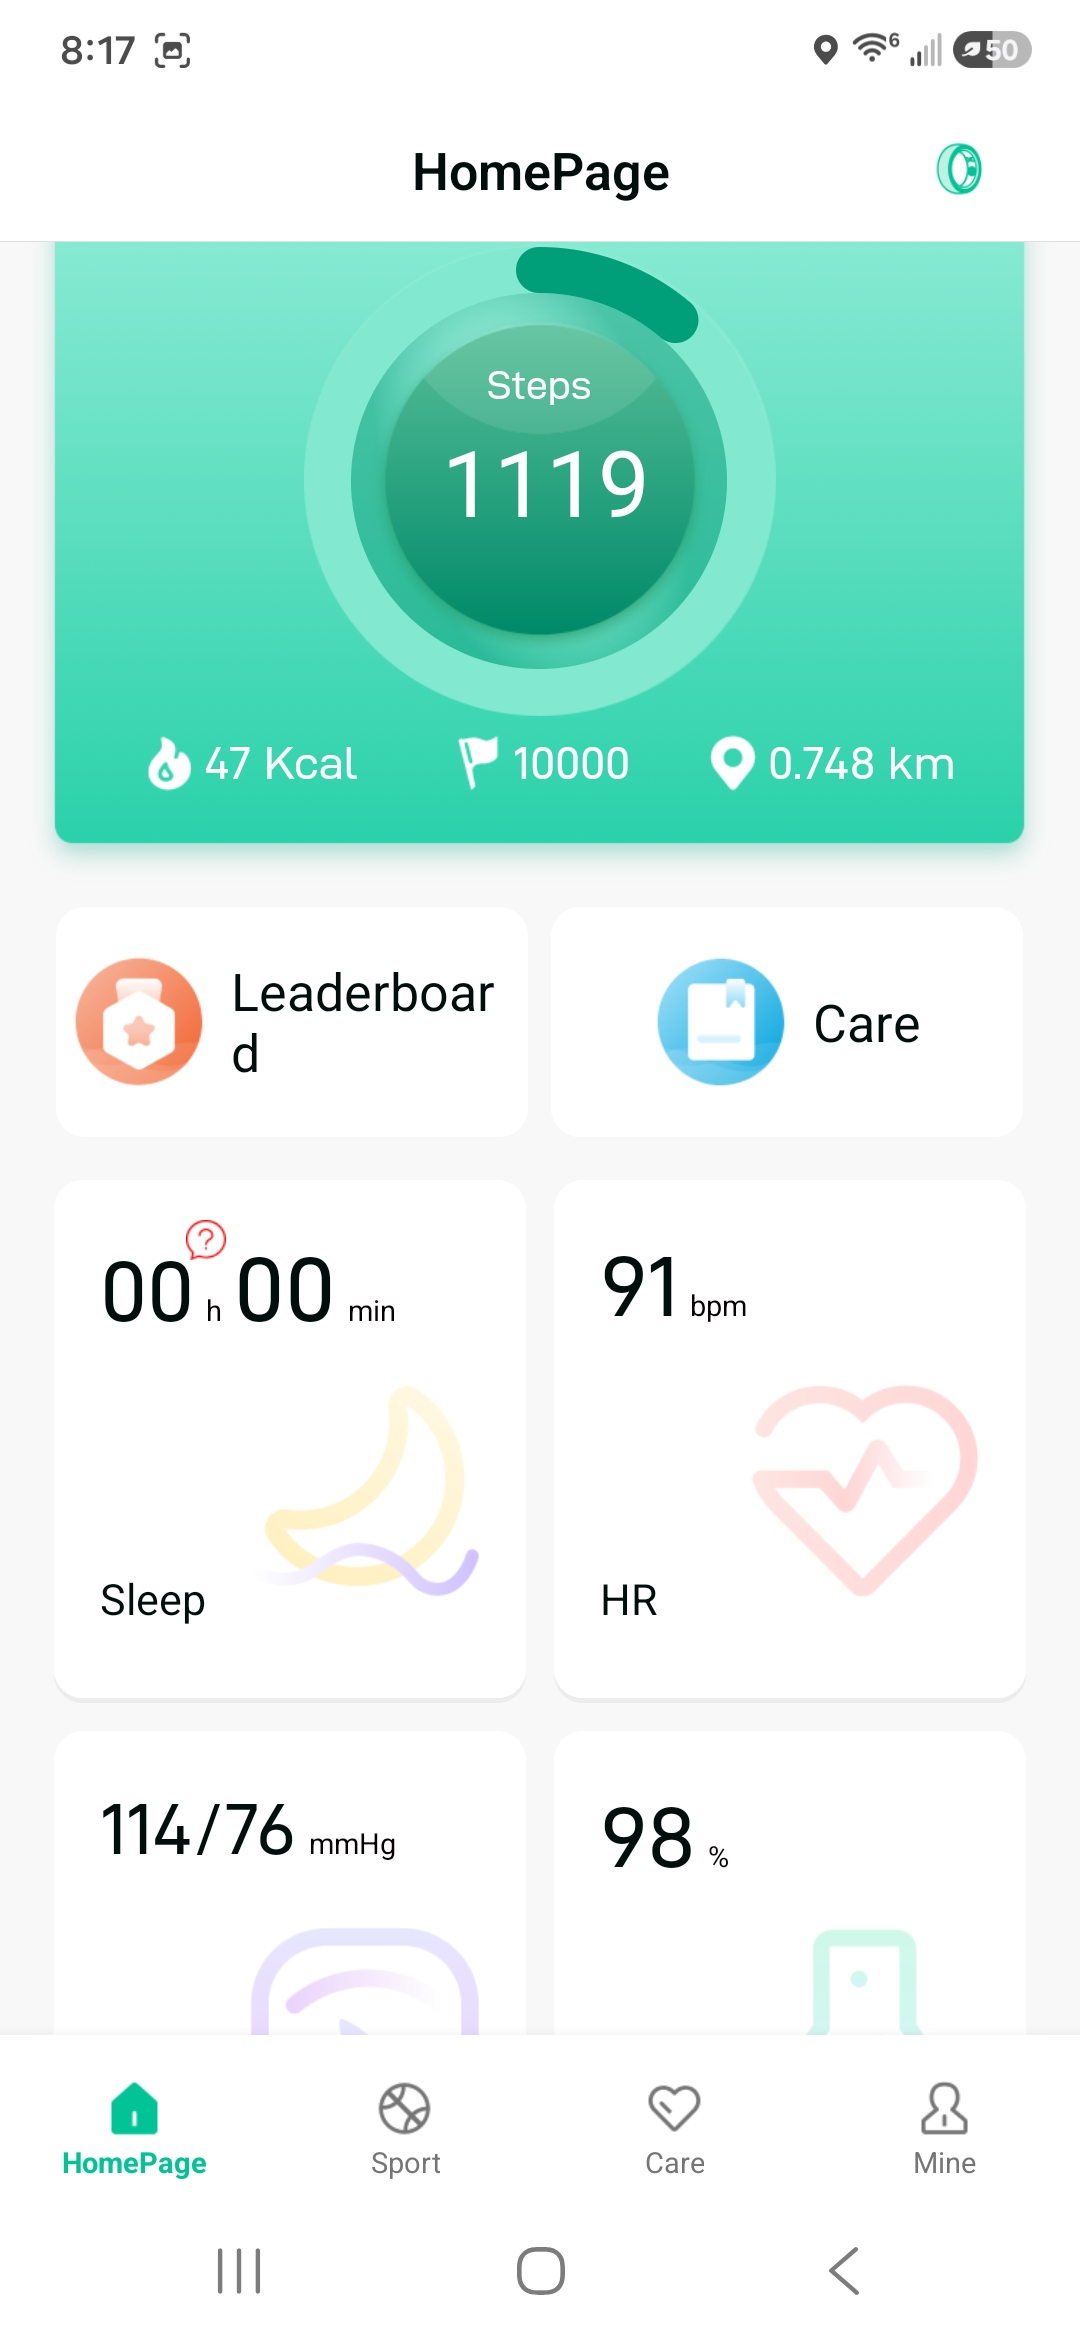
I confirmed the python script was working by comparing the results to my android app: